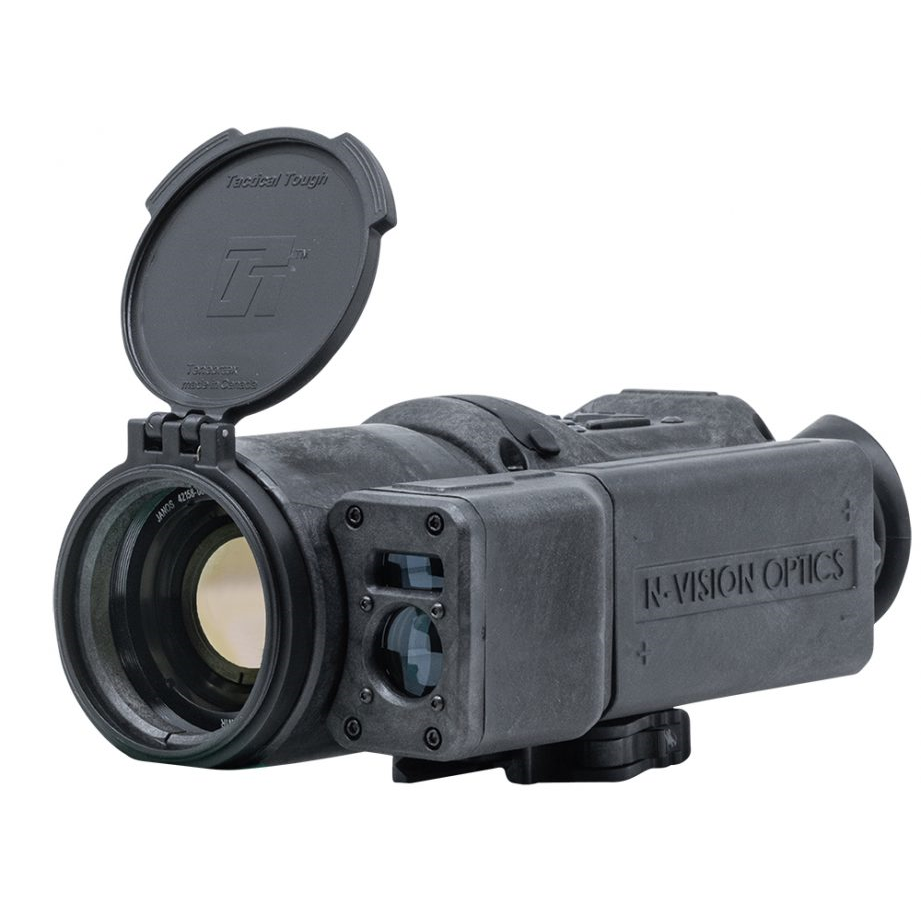
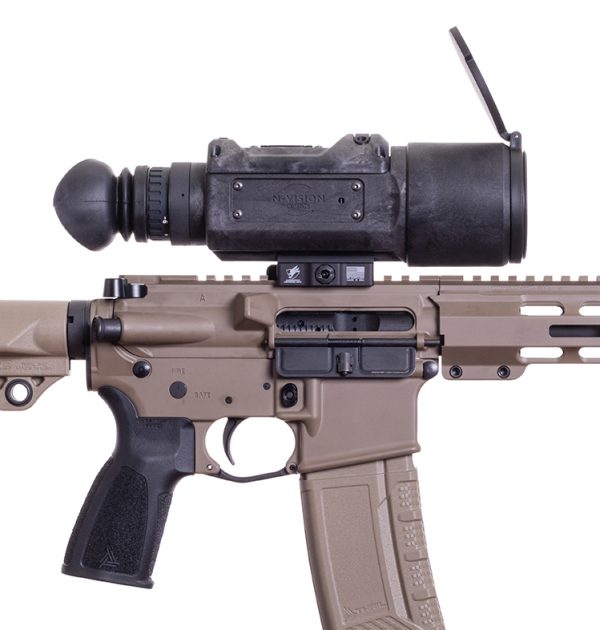
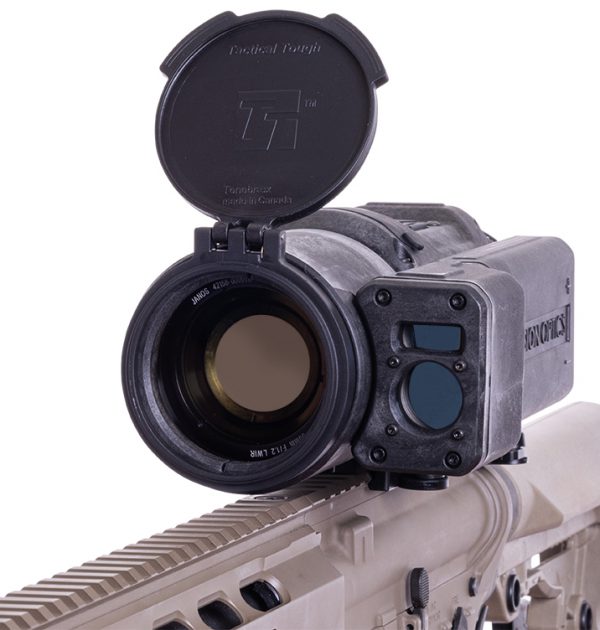
- BAE 640 x 480, 12 um, 60 Hz Thermal Imaging Core
- Built-in Laser Range Finder, Video and Audio Recording
- 50 mm F1.1 Germanium objective lens
- 8 Reticle Options
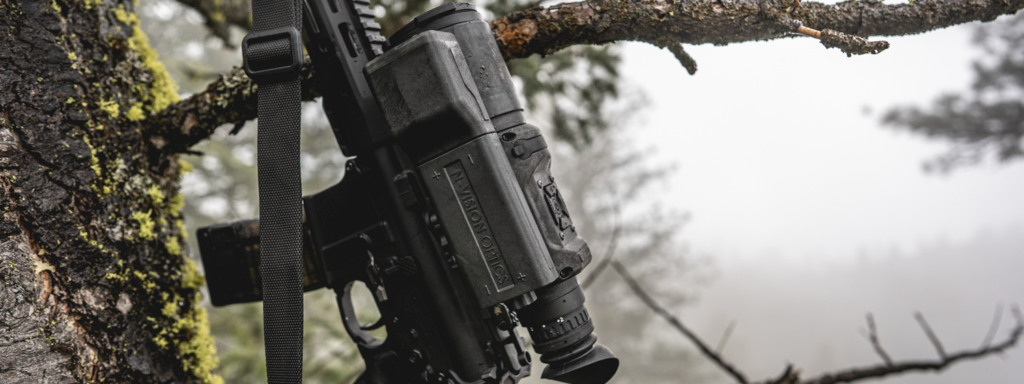
HALO-XRF is N-Vision Optics latest groundbreaking product that combines state of the art BAE thermal imaging CORE with top customer demanded features, such as integrated laser range finder, onboard video recording, and WiFi connectivity. HALO-XRF is proudly designed and built in the USA, making it the ultimate US-made thermal scope with integrated LRF available to the hunting market.
Built-in Video and Audio Recording
HALO-XRF eliminates the need for external recorders. Pixel accurate 60 Hz videos are internally captured and stored for later transfer to the user’s PC via USB connection.
Streaming
The streaming feature permits the user to stream videos over the WiFi connection and possibly broadcast the hunts in real-time to Youtube, Facebook, or any other social media if it is still allowed and available.
Laser Range Finder
HALO-XRF features a built-in laser range finder with a range of up to 1,000 yards/meters.
Rechargeable 18650 Batteries
HALO-XRF operates on two rechargeable 18650 batteries, providing up to 7 hours of run time (at room temperature).
Zoom Sensitive Zeroing
Reticle movement steps are zoom dependent, which allows for the most precise zeroing.
Reticles
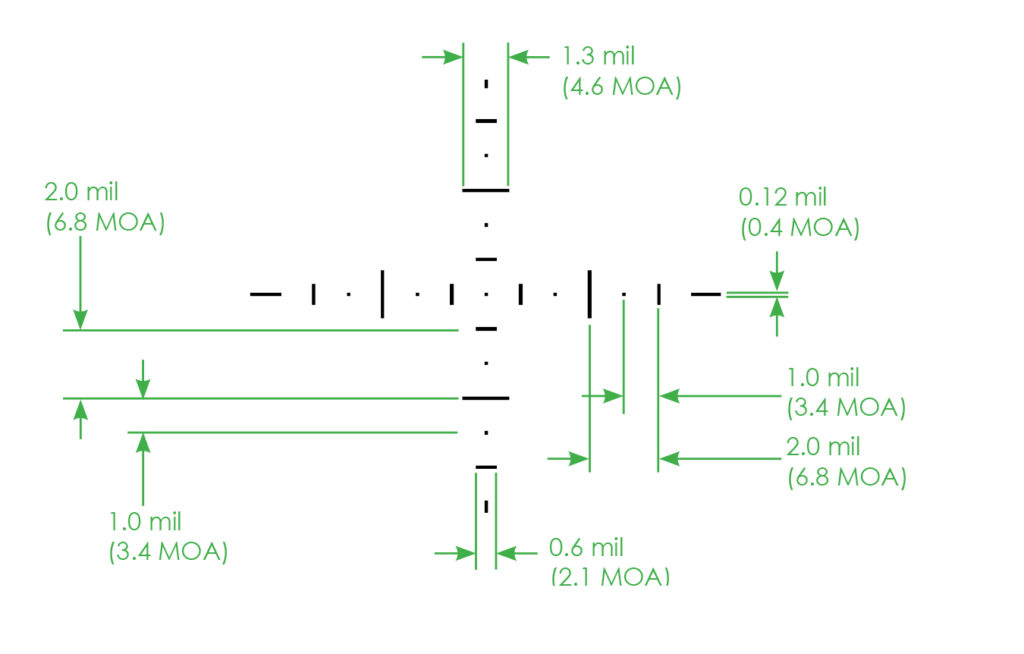
Eight reticle choices with two Mil Dot reticles.
USB-C Connector
Standard USB-C type cable is used for user software updates, downloading videos and still images, or powering up the HALO-XRF with an external 5V (USB) power source.
Features
- Integrated Laser Range Finder
- Built-in Video and Audio Recording
- Zoom Sensitive Zeroing
- Wifi streaming
- Rechargeable 18650 Batteries
| Sensor Pixel Pitch | 12 um |
|---|---|
| Resolution | 640 x 480 |
| Refresh Rate | 60 Hz |
| Lens | 50mm F1.1 |
| Focus | Fixed |
| Digital Zoom | 1x/2x/4x/8x |
| Magnification | 3.5x |
| Display Type | OLED 640×480 B&W |
| Power | two 18650 batteries |
| Remote power | USB 5.0V |
| External connector | Waterproof USB-C |
| Calibration (NUC) Manual | Manual |
| Detection range | 2020 yards |
| Recognition range | 726 yards |
| Identification range | 380 yards |
| Weight | 41.5 oz |
| Size | 8.9 x 4.1 x 3.4 inches |
Type 1
At 100 yards, 1x zoom
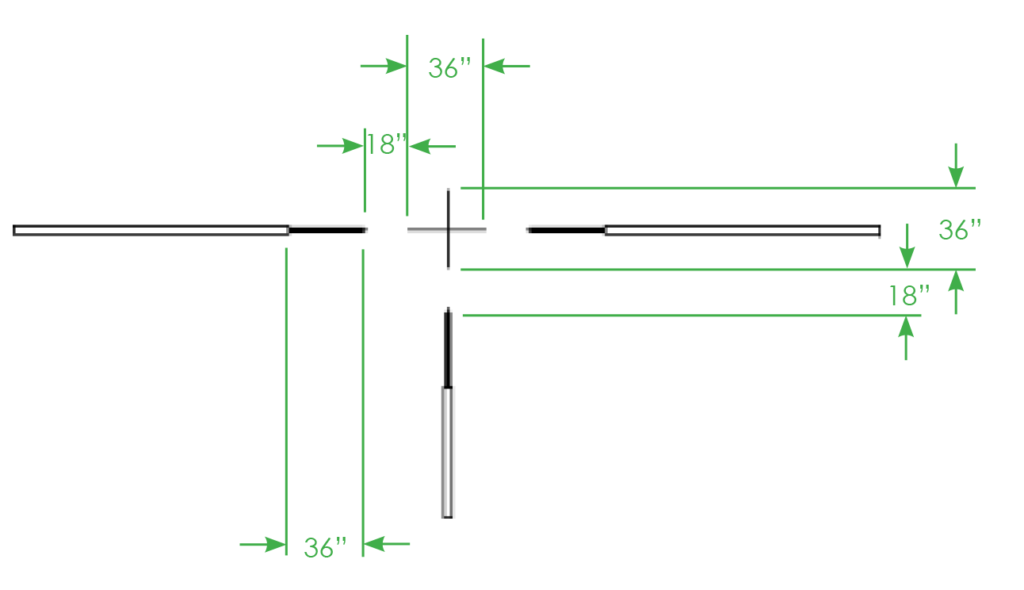
Type 2
At 100 yards, 1x zoom
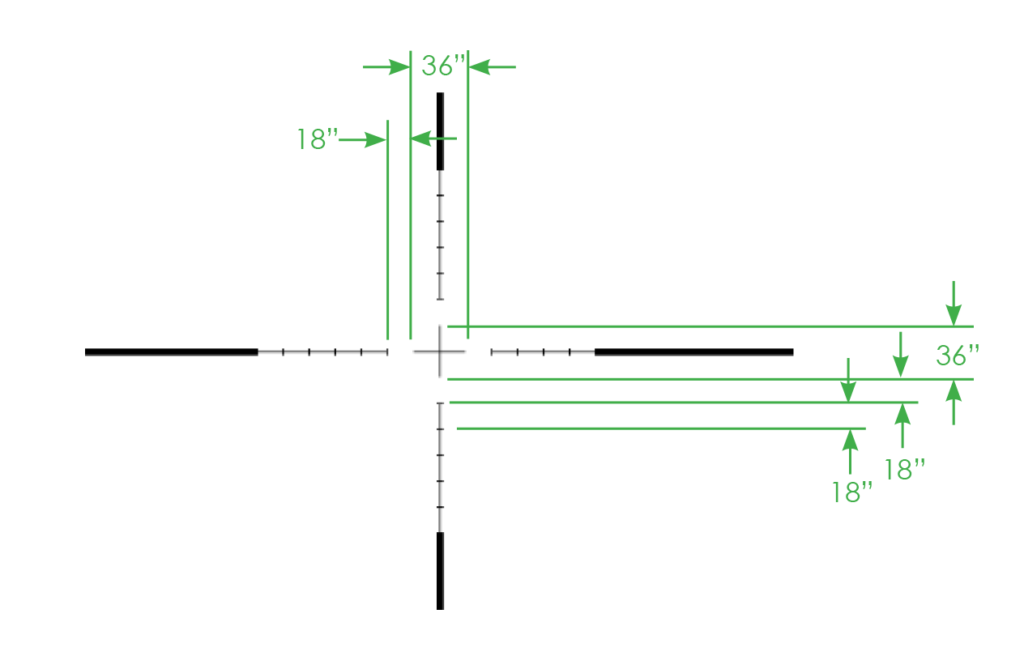
Type 3
At 100 yards, 1x zoom
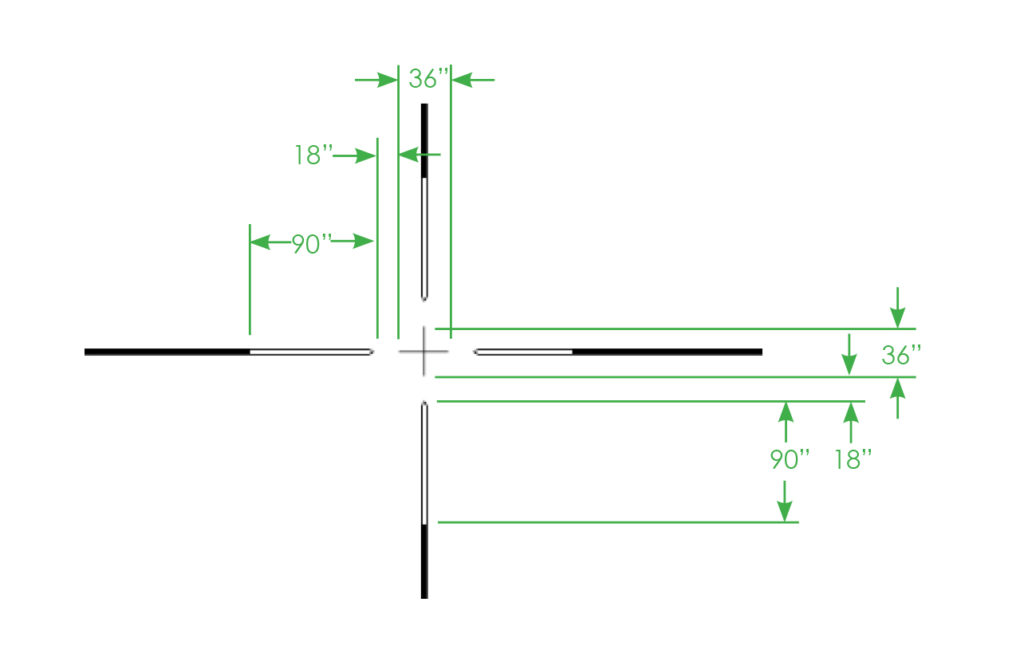
Type 4
At 100 yards, 1x zoom
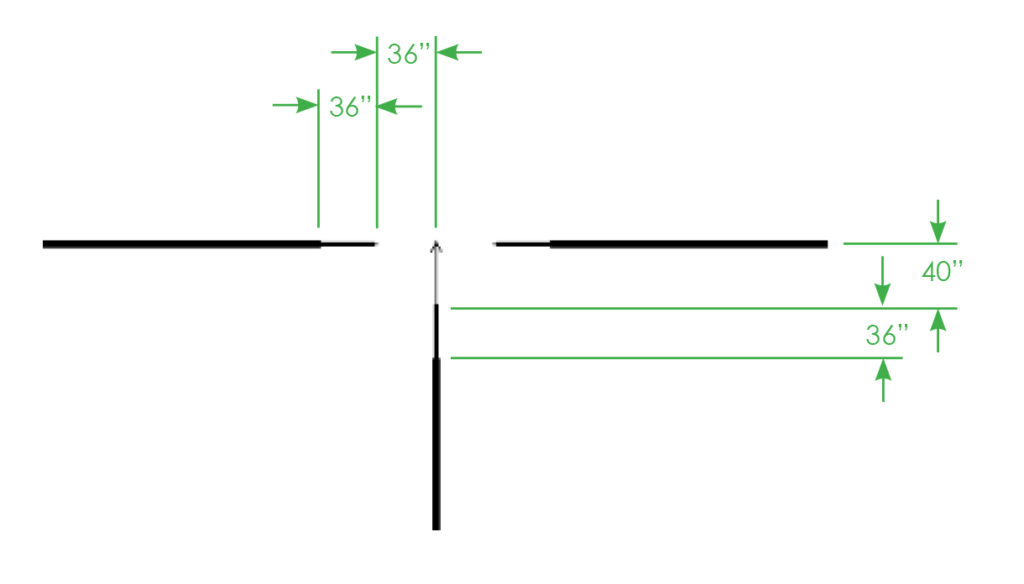
Type 5
At 100 yards, 1x zoom
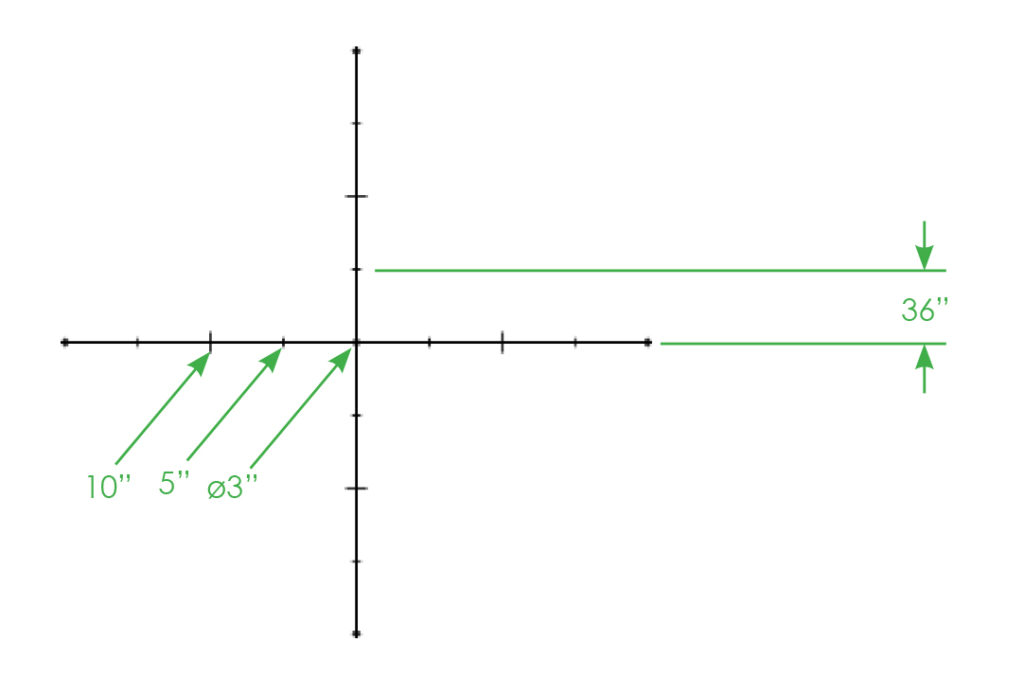
Type 6
At 100 yards, 1x zoom
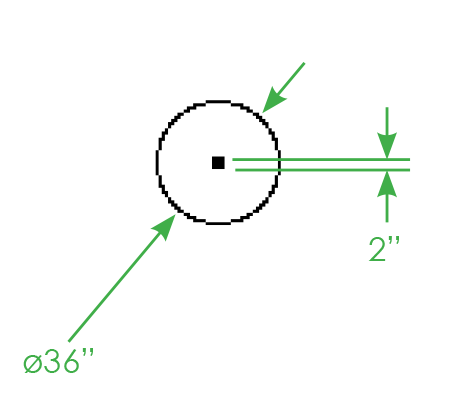
Type 7
At 100 yards, 1x zoom
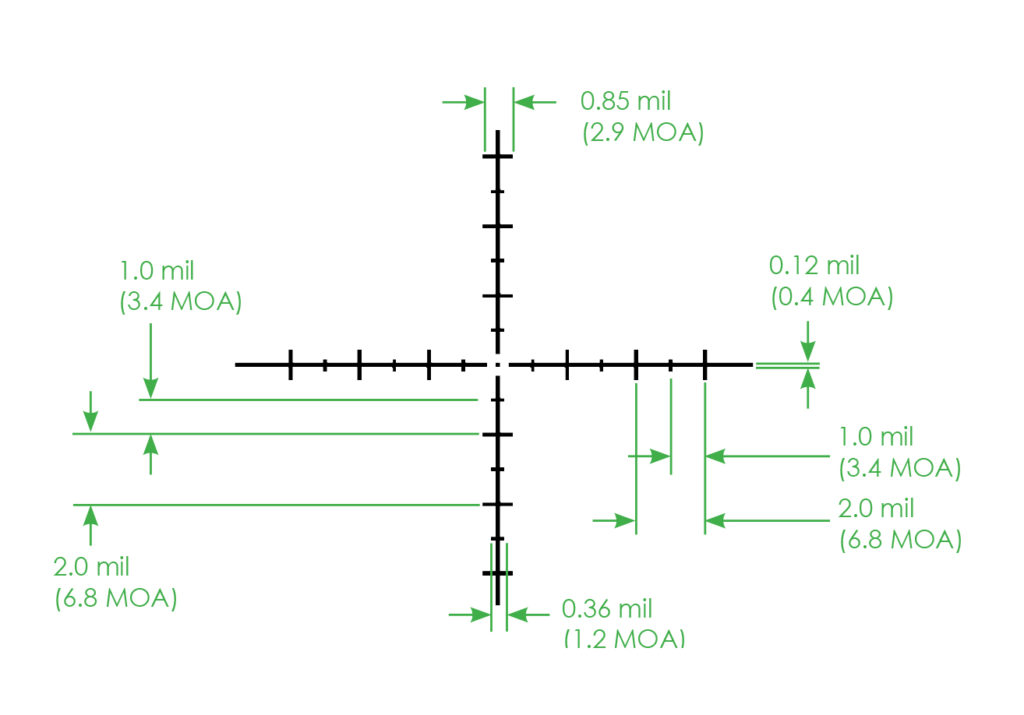
Type 8
At 100 yards, 1x zoom
HALO/HALO-X TIPS and POINTERS
IMAGE OPTIMIZATION
Based on differing environmental conditions and general user preference, certain measures can be taken to optimize the image seen through the HALO-X. Parameters related to image optimization are located under Main Menu -> Display and Main
Menu -> System:
BRIGHTNESS: Changes the brightness of the display. CE Increasing Contrast Enhancement (CE) helps to distinguish fine image details in low thermal contrast conditions, but setting the value too high will lead to a grainy image. Setting the CE Level between 1 and 3 works best for normal conditions.
SHARPNESS Increasing image sharpness makes details of the image more pronounced but setting it too high may lead to loss of finer details.
GAMMA Changing the Gamma curve for the display will make the image appear darker or brighter. Gamma does not have any effect on image details. The default value is 1.
ROI Selects the most appropriate Region of Interest (ROI). For scanning, the recommended ROI setting is Full. ROI ½ and ROI ¼ leads to the optimization of the image based, correspondingly, on the ½ or ¼ central part of the image. This will make the part of the image that is closer to the center look better, but the peripheral parts of the image may become washed out.
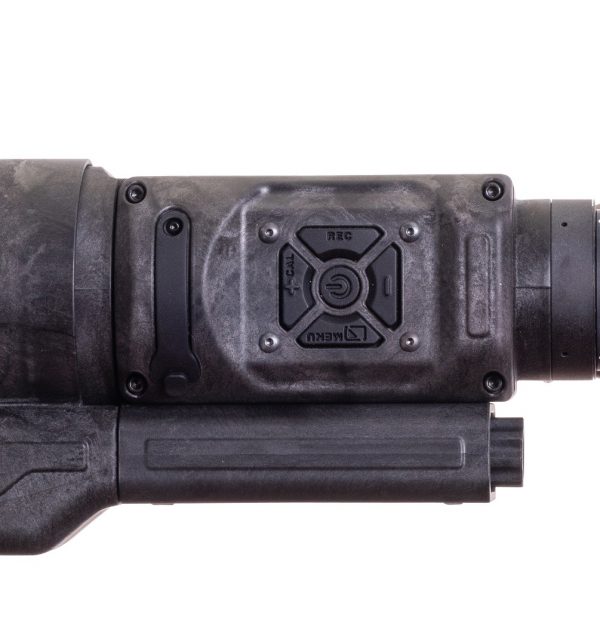
CALIBRATION HALO-X only supports manual calibration. Calibration is performed by completely covering the objective lens and holding down the CAL button until the image appears to reset itself. The unit has to be calibrated when it is first turned on and later when the image quality degrades during use.
MISCELLANEOUS
FOCUS HALO-X scopes do not need to be focused. HALO-X’s fixed focus provides high-quality imaging in most real-life scenarios without requiring the user’s attention.
DIOPTER ADJUSTMENT Adjust the focusing ring to achieve the best possible focus on the display screen. Make sure that the reticle is as sharp as possible.
MULTIPLE ZEROES Users can save up to four reticle positions by selecting one of the Profiles in the Reticle Menu. Each Profile is saved with its Reticle Type and zeroing information. Performing a reset of the HALO-X will not affect saved zeroes.
MENU ITEMS VISIBILITY Note that at high values of Contrast Enhancements (CE) and Sharpness settings, the menu font may appear dim or blurred. It is recommended to decrease CE and Sharpness settings if this causes issues with clarity. We recommend setting CE and Sharpness values from 0 to 2 and only change them if necessary. Menu fonts may be hard to read in Edge Detect mode (polarity). It is recommended to enter menu mode while in Black Hot or White Hot.
BATTERIES HALO-X takes two 18650 rechargeable batteries. Use only the recommended KeepPower batteries. Remove batteries after use.
EXTERNAL POWER HALO-X will work with any external USB power source (power banks/bricks, USB chargers, computer ports) as long as USB output is rated at least 2A.
RESTORATION TO FACTORY SETTINGS In some cases, this may improve the image quality. To restore the unit while it is On, press and hold the (-) Button for approximately 15 seconds until the unit turns off. HALO-X will return to original factory settings upon powering back up.
DOWNLOADING PHOTOS AND VIDEOS TO PC Power up the HALO-X with batteries. Select Connect to PC in the Main Menu. Connect the HALO-X to a PC with a USB cable. It will appear as an external hard drive. Move pictures/videos to a PC, delete them if necessary. Press the PWR button to disconnect.
INTERNAL STORAGE HALO-X has a generous amount of storage space dedicated to photos and videos, but video files are quite large. You may store up to 45 minutes of videos (close to 3.5 GB!) before you’ll run out of space. Delete unnecessary files to free up the storage space.
FREEING STORAGE SPACE There are three ways to free up internal storage. Delete All Files under Main Menu -> Camera, delete all or some files using the USB connection to a PC, or delete some or all files using the WiFi connection.

